Running Code in Stata#
Although, there are plenty of ways to run code in Stata, our goal with these instructions is to show the easiest way to do it, by minimizing both the manual steps replicators have to go through and the chance of making a mistake that prevents a successful run.
In essence, these instructions show how to deal with the three most common actions that replicators have to undertake when running Stata code:
Making sure that paths (i.e., something like “
Mycomputer/Documents/Workspace/”) in the .do files (Stata scripts) reflect the appropriate location of code, data, and output in the computer where the code is run.Installing user-written functions, programs, or packages that are necessary to do computations and produce tables/figures.
Creating .log files (files that record, in this case, Stata output) of the replication attempts.
Step 1: check for a “main” .do file#
[ACTION] Check the README or the repository and determine if a main .do file was provided.
A main .do file is a Stata script that will call, in the correct sequence, all the programs necessary to construct analysis datasets, do all computations, and produce figures and tables. If a main do file exists, it should be mentioned in the README. In most cases, running a single main do file is sufficient to complete the reproduction. In general, a main script does not need to be a .do file. However, we will focus on cases where all work done in Stata is reduced to executing a single .do file.
When a main .do file is provided#
If there is a main do file, continue with Step 2.
When a main .do file is NOT provided#
[ACTION] If a main .do file is not provided, you should create a one.
Identify all the programs (do files) that need to be run, and create a main file. This is easy!
To create a do file follow the following steps:
Check that the README for specific instructions about the order in which each program is supposed to be run. If there are no such instructions, or they are not obvious by the name of the programs, is probably best to not create a main do file.
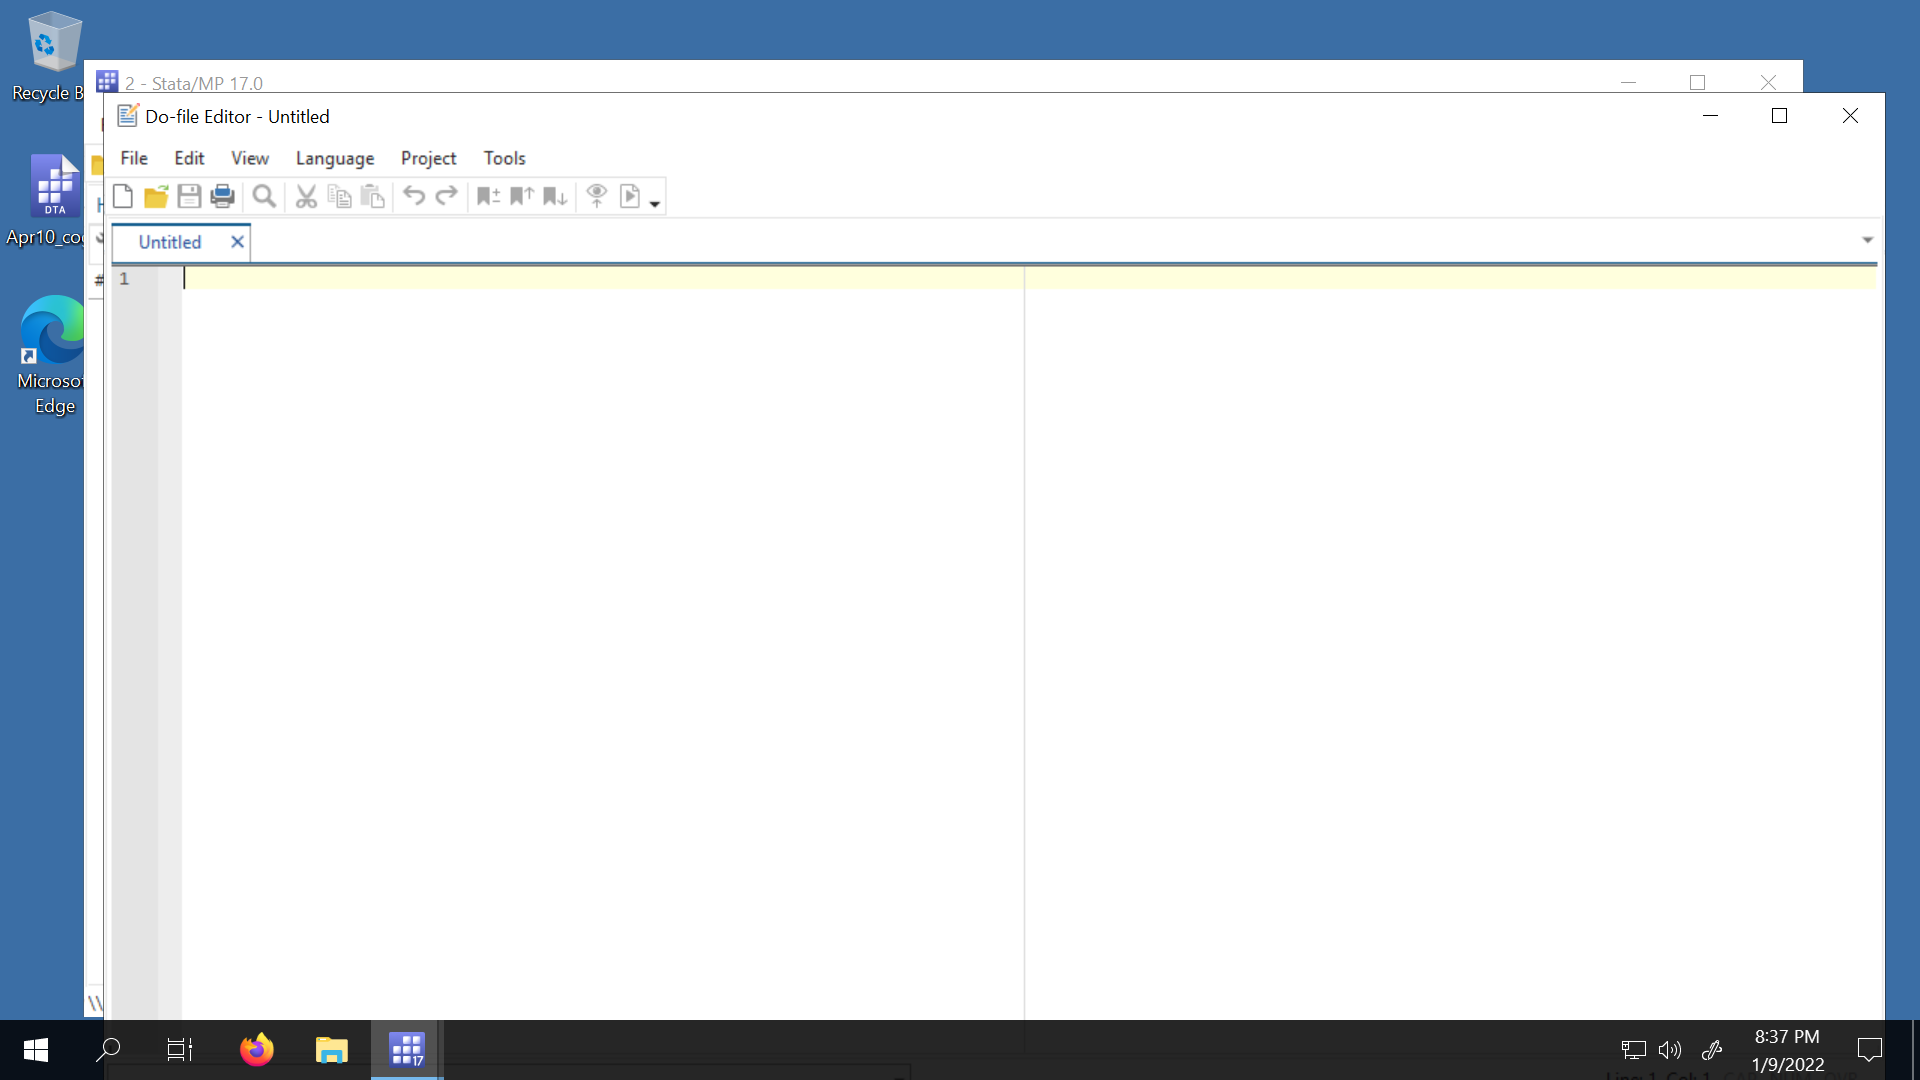
Assuming that the sequence of programs is clear to you, open stata and click on the “New do file editor” (you can also work on Visual Studio Code):
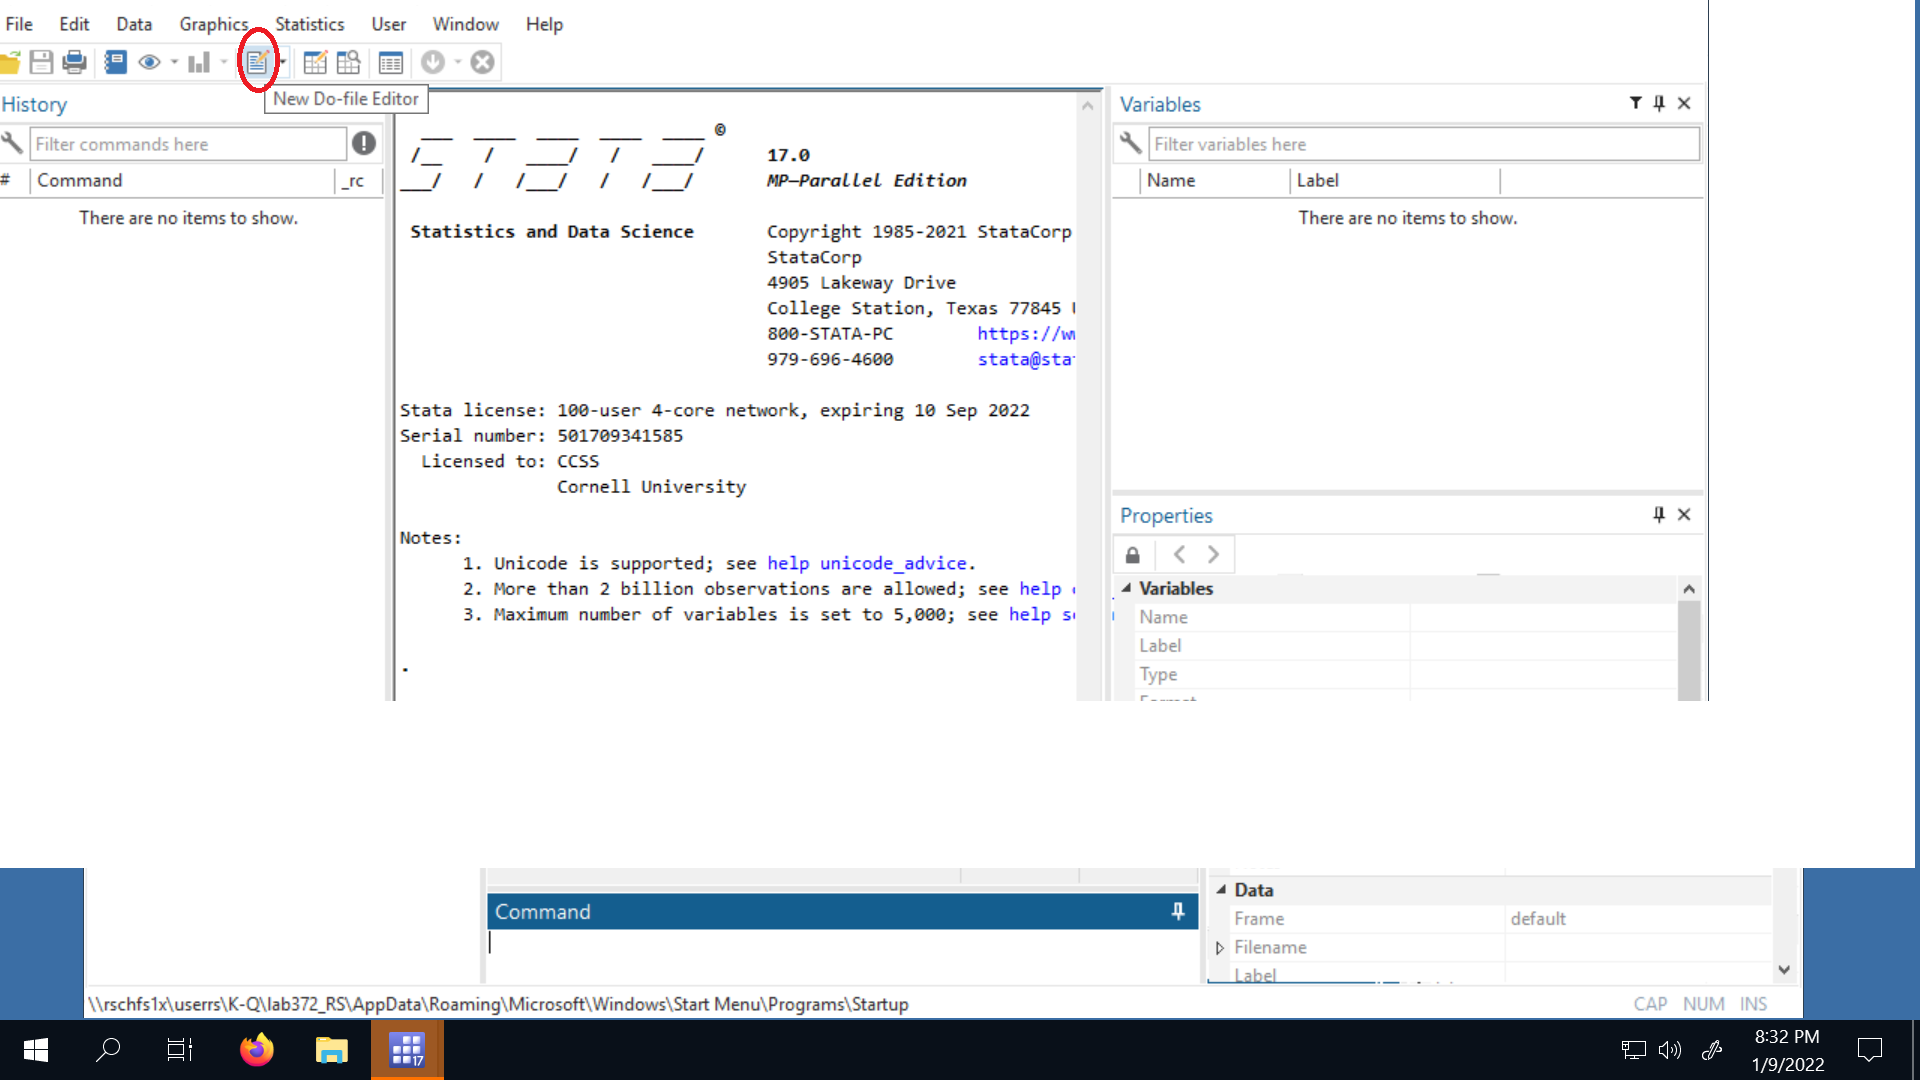
To open the do file editor:
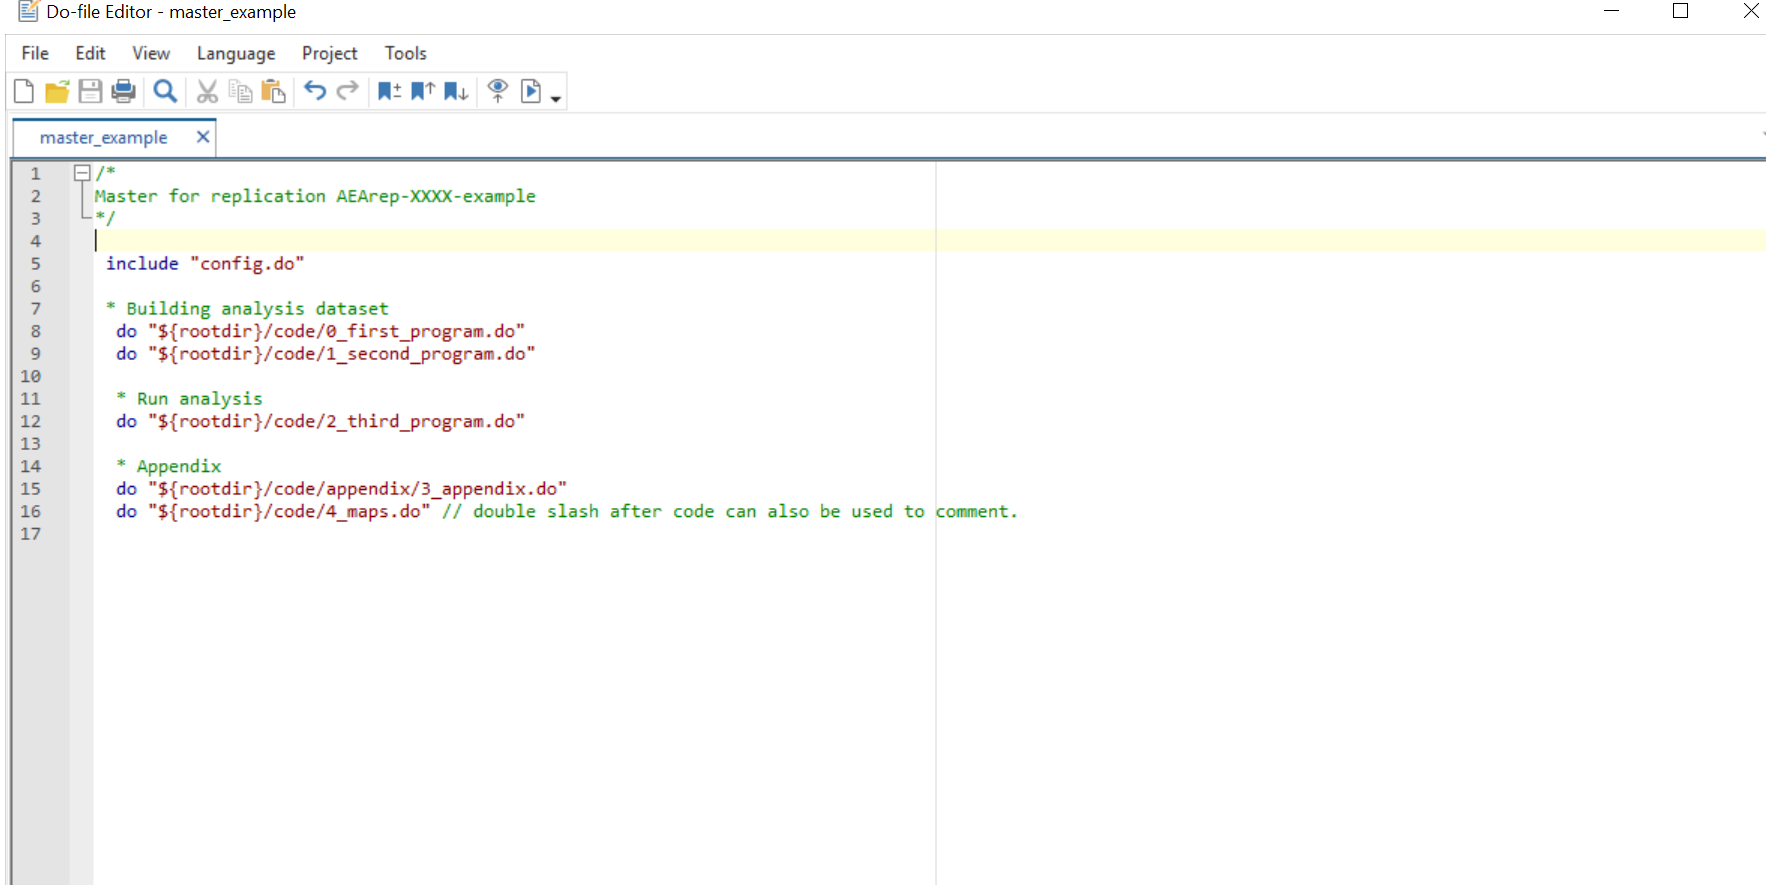
In the first line write
include "config.do"Write the command
doand the (quoted) path of each program that needs to be run. Write them in the correct sequence.
Example:
include "config.do"

* Assuming scenario "A"

do "${rootdir}/code/0_first_program.do"
do "${rootdir}/code/1_second_program.do"
do "${rootdir}/code/2_third_program.do"
do "${rootdir}/code/appendix_code/appendix.do"
Save your main file.
At the end your main .do file may look like this:
With your main do file done, continue with Step 2.
Step 2: place config.do where the main .do file is located#
[ACTION] Copy the template-config.do to the right location.
You should copy it (using Windows actions, or command line) and paste it into the folder where the main file is located. Change the name from template-config.do to config.do
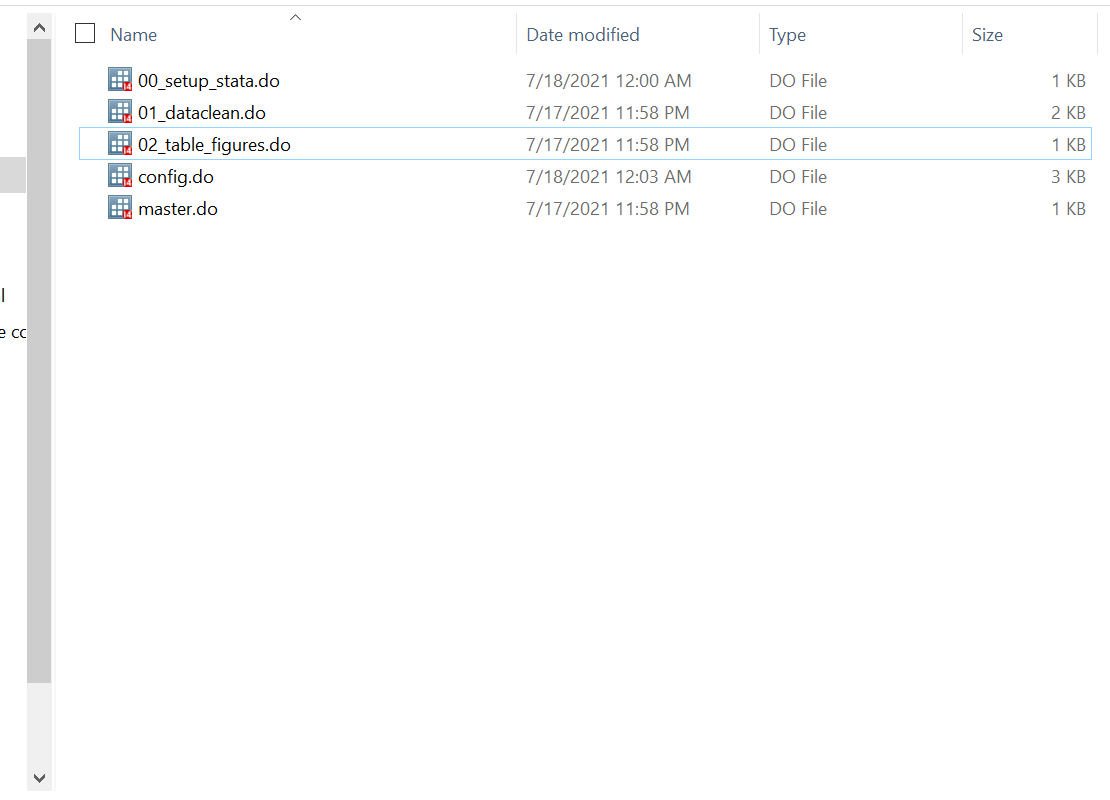
The folder with the code, whether is the root directory or a subfolder, should look something like this:
Step 3: include config.do in the main .do file#
[ACTION] Add a call to the config.do file in the main .do file.
Open the main .do file. In the beginning, add the line to include the config.do.
(You already did this if you created a main .do file in Step 1.)
1 include "config.do"
2
3 /* This is Master do file */
Save.
In some cases, authors will have code at the start of their dofile that does “housekeeping”, for example
	* Housekeeping
		cap log close
		set more off
		clear all
		estimates drop _all
		eststo clear
		macro drop _all
In this case, you should add include "config.do" after such commands, to avoid problems. Technically, the command clear all undoes many of the settings that our config.do does.
Step 4: Modify config.do#
Note
config.do does 4 things:
Creates a global variable called “rootdir” with the local path to the root directory.
Creates a logs files.
Sets a path to save the packages to be installed in the replication repository, and
It allows you to install the packages simply by listing their names.
A crucial function of config.do is that it allows for the local installation of Stata packages, which is important for two reasons. First, it will enable us to check for the completeness of replication materials. Second, when running code in servers, we often do not have the necessary permissions to install Stata packages freely.config.do allow us to installed packages in the replication directory.
More information about modifying config.do can be found in “Using Config.do”.
Step 6: Modifying the main .do file#
You may have to modify some additional code in the main.do file.
If the main.do provided by the authors contains run commands, you must replace them with do.
runwill hide much of the output.dowill show output, in particular when code goes wrong.
So if the main.do looks like this:
***************************

run "${do}/2_transform_data.do"

****************************************
* 3 * Append Denmark, Norway, Finland and Sweden
* depends on the previous step
****************************************

run "${do}/3_appending.do"

****************************************
* 4 * Prepare the data for the ridgeline plots and maps
* depends on the previous step
****************************************

run "${do}/4_ridgeline_prep.do"
(etc.), then you must modify it so it looks like this:
***************************

do "${do}/2_transform_data.do"

****************************************
* 3 * Append Denmark, Norway, Finland and Sweden
* depends on the previous step
****************************************

do "${do}/3_appending.do"

****************************************
* 4 * Prepare the data for the ridgeline plots and maps
* depends on the previous step
****************************************

do "${do}/4_ridgeline_prep.do"
Save it, and proceed to the next step.
Step 7: Run the Code#
[ACTION] Right click on the master .do file and select the option
Execute (do).
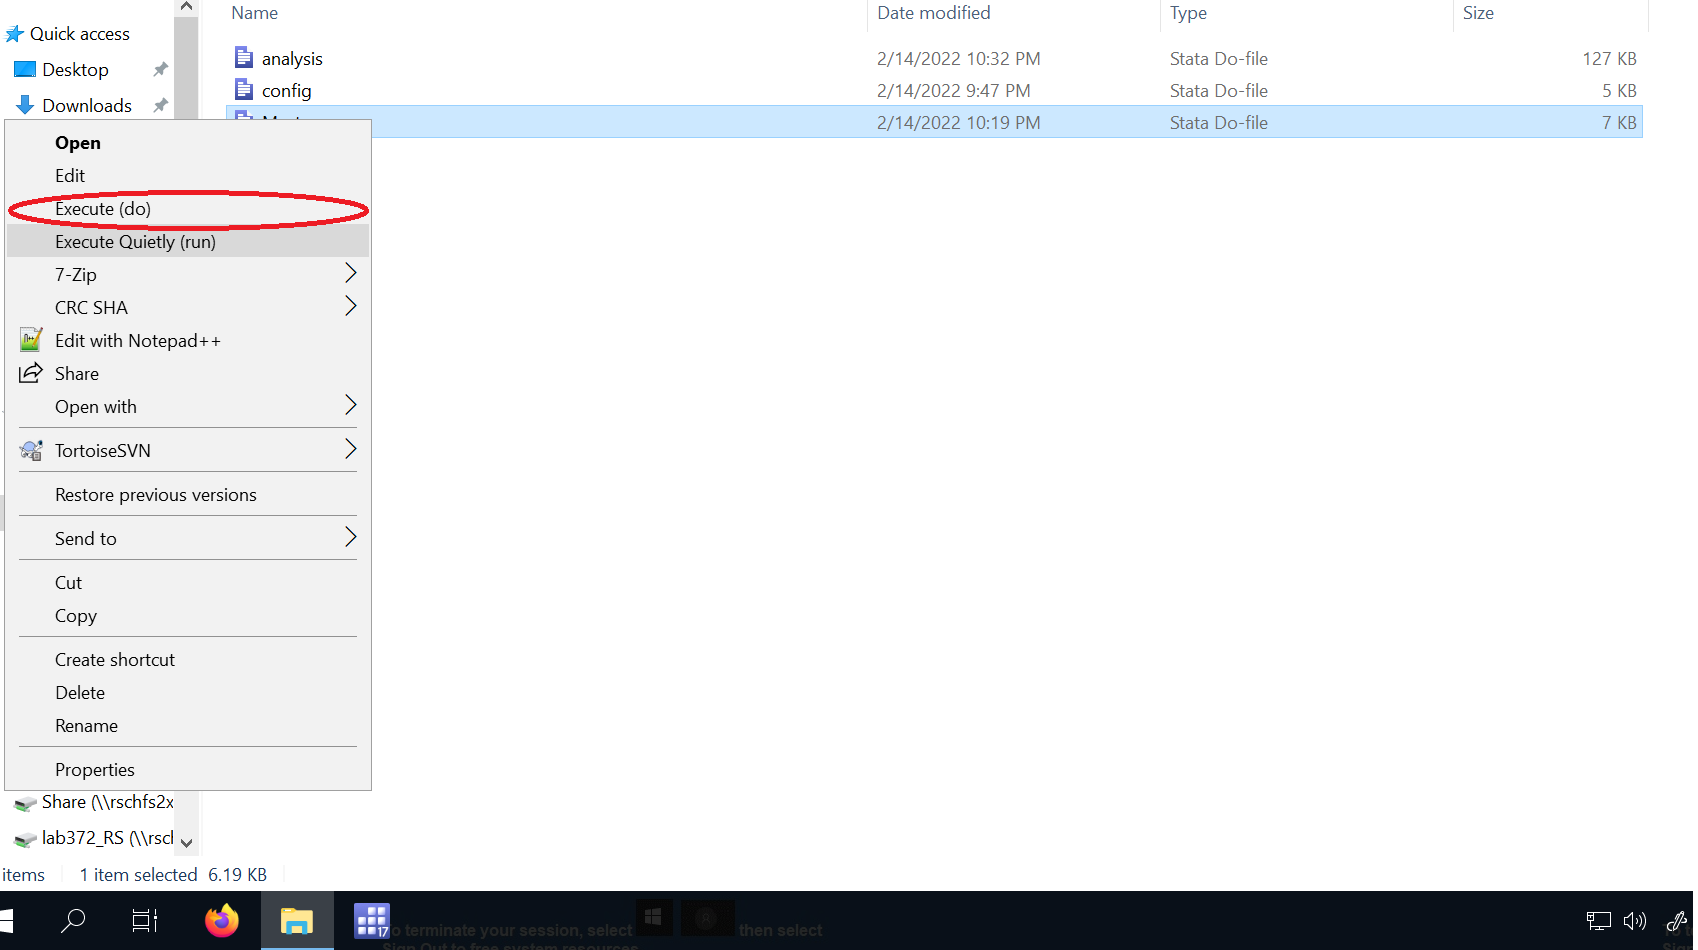
This option will set the working directory to the location where the master.do is. It opens Stata and will show the processes in the Stata window.
On Unix-style systems, the preferred way is to use the command line to run Stata code.
Mac-specific one-time setup
Open Stata on your Mac, go to the “Stata” tab at the top of your screen and click “Install Terminal Utility…” (will work only for Stata-SE and Stata-MP).
BioHPC-specific setup
On BioHPC, you need to expand your search path to find Stata. Stata 14, 16, and 18 are currently available. You can then either call them directly:
/usr/local/stata16/stata-mp -b do main.do
or add the location of the Stata to your $PATH variable, which you will need to do every time you open a terminal windows:
export PATH=/usr/local/stata16:$PATH
stata-mp -b do main.do
Open up a terminal in the folder where the master.do file is located - this may differ depending on your system, and may involve changing directory
cd /path/to/code
Confirm with “ls” that you see the same files you might see in Finder / File Explorer. Refer to the command line training in the initial training.
Identify which Stata version you have installed (some systems have only one, some have multiple):
which stata
which stata-se
which stata-mp
Each version is increasingly powerful. Choose the most powerful one installed on your system. (We will assume that you have stata-mp but adjust accordingly)
Then type
stata-mp -b do master.do
In some cases, the right-click menu may not contain the Execute (do) option. In that case, the following workaround also works; but does not automatically exit Stata when the do file is done. Start by double-clicking on the master.do file. This should open the Stata Editor window:
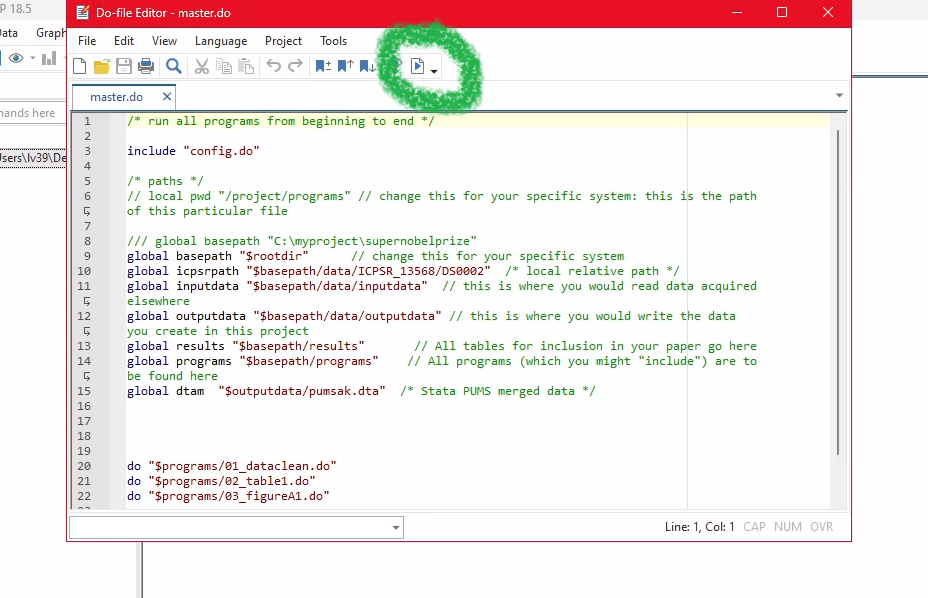
Now click on the circled green triangle to run the do file.
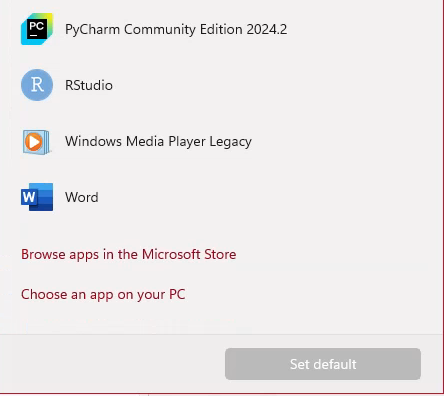
If double-clicking the do file does not open Stata, you may need to check the Properties tab. Right-click on the do file and select Properties. In the General tab, you may see an option to Change the default program that opens the do file. You may need to choose Choose an app from your PC:
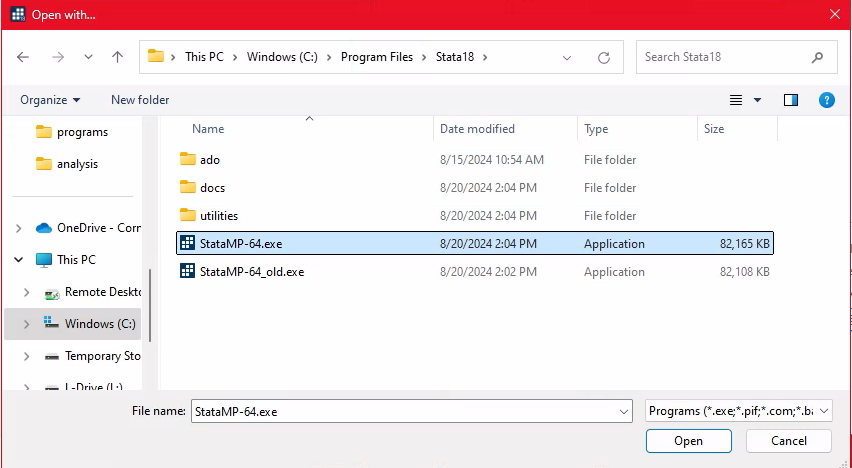
Then navigate to the Stata executable (e.g., C:\Program Files\Stata18\StataMP-64.exe or /c/Program\ Files/StataNow19/StataMP-64.exe) and select it:
Then click OK and Apply to save the changes. Now double-clicking the do file should open it in Stata.
Instead of using the graphical “right-click” method, you can also use the command line in Windows. For bash, use
cd /path/to/code
/c/Program\ Files/StataNow19/StataMP-64.exe -b master.do
If using a Bash file (.sh or .bash), you may need to define the path in some environment variable, for example:
export STATA_PATH="/c/Program\ Files/StataNow19/StataMP-64.exe"
For Powershell, use
& 'C:\Program Files\Stata18\StataMP-64.exe' -b master.do
Checking for a complete run, debugging and running the master in pieces#
After running the code, the log files will need to be checked for a complete run. Use Visual Studio Code to open and inspect log files. Any bugs that prevents a complete run will also show up in the log files.
If a you find a bug that is simple enough to fix, you can make changes to the do files. Then, you can right click on the master file and select Execute (do) as this option will open Stata, allowing to run the code interactively.
If you decide the code needs to be run in pieces (this is NOT ideal)
In the master .do file, you can comment out (using the symbol *) the programs that are not to be run and save the master.
Then, you can right click on the master and select the option ``Execute (do)`.
When debugging is complete, you can uncomment all programs in the master and make a clean run, using again Execute Quietly (run).
Consider how much time a complete run would take before you run everything one last time. If it would take too long, you may want to skip a complete run, but ensure that you have log files for all partial runs. Make a note of this in the report.